Trackers are custom, measurable items you can record in your journal so that you can track progress and report on them along the way. Trackers can be financial (such as measuring savings), numerical (such as measuring weight or distance), text based (such as recording books you have read) or binary (for counting gym visits).
To configure and then record your Tracker, go to the Journal screen and click on the “Configure trackers” button.
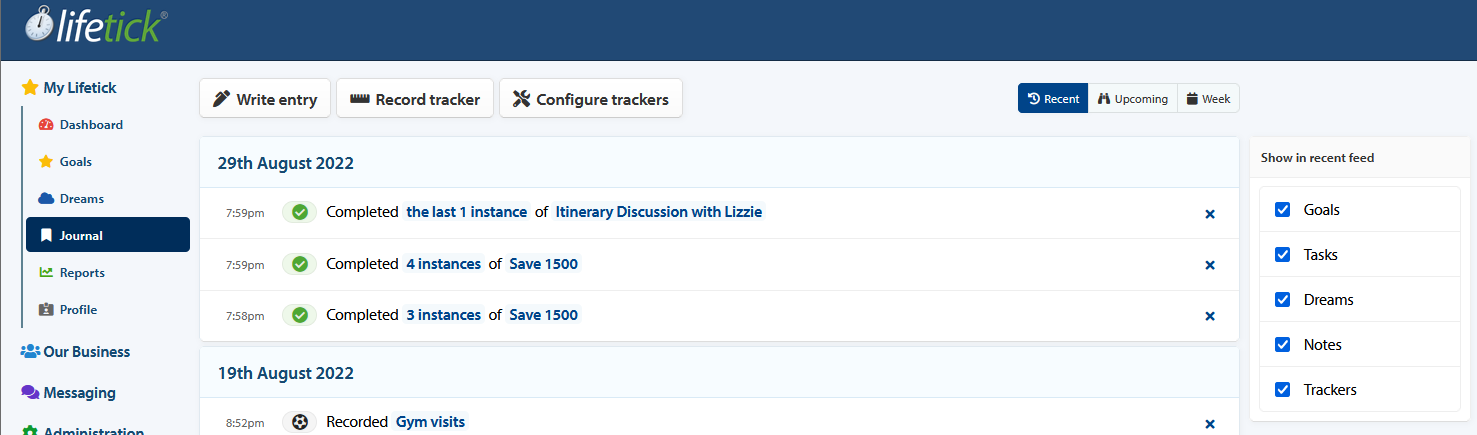
Note: To display only trackers on the Journal window, you can untick all other items on the right-hand side of the page under ‘Show in recent feed’ except for ‘Trackers.’

Lifetick is setup with several default trackers to provide you with examples of how they
can be utilised. You can use or delete these. To add a new one, click ‘Add tracker’.
Select an icon and type the name of your tracker.
Then, select the type of tracker it is and click ‘Save’.
Your tracker is now created and will appear in the list of available trackers.
Note: You can change the name and icon of your tracker, but not the type. If this is required, you will need to delete it and create a new one.
Note: For other tracker types such as financial you will need to enter additional configuration. For example: for a financial tracker you will need to add a currency.
For numerical trackers you will need to provide the units of measurement. For example: creating a tracker for weight will require you to enter kilograms(kgs) or pounds (lbs) or another variant.
You are now ready to start recording entries for your tracker.
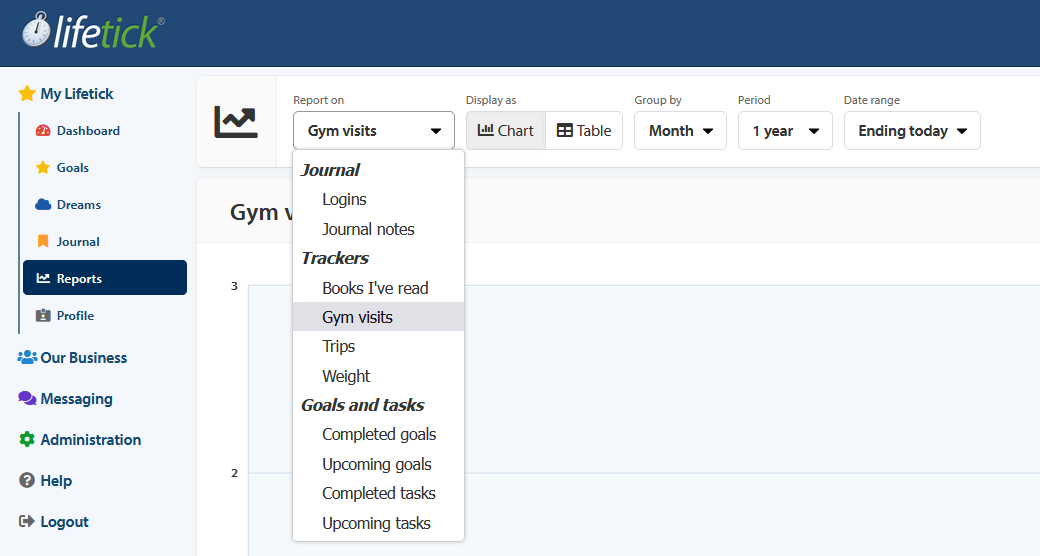
Note: Your recorded entries are then collated as statistical data in ‘Reports.’ This helps in displaying your Lifetick activities and recorded trackers in a chart or table in relation to your selected timeframe.