Lifetick Organization accounts are designed for businesses, schools, Not for Profits, counsellors and families to name a few. There are two main user types within organization accounts. However, you can customize the terminology you use to ensure Lifetick accurately captures your user types. By default, the user types are as follows:
- Coaches (But this can be changed to managers, teachers, parents, team leaders etc)
- Clients (But this can be changed to employees, students, children, staff, team members etc)
- or both. (This might be relevant in a company where a Manager is both employee of company and Manager of other Employees)
Note: Only users with the ‘Super Coach’ role can add users across the organization. A “Coach” can add his/her own ‘Clients’.
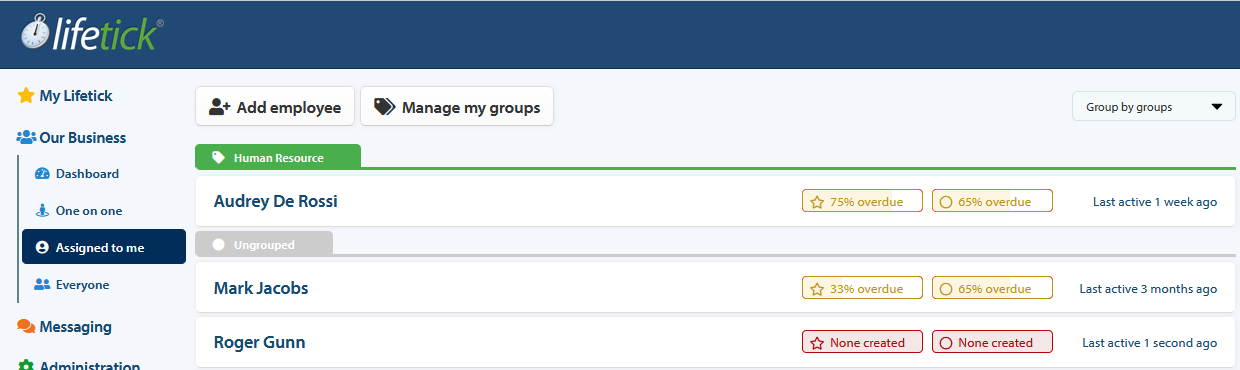
Coaches can add users by clicking on ‘Assigned to me’ (i.e. My employees, My students, My children). Remember that these roles will be labelled according to the naming convention you choose. i.e. Super Coach = Super Manager, Super Teacher, or Super Parent.
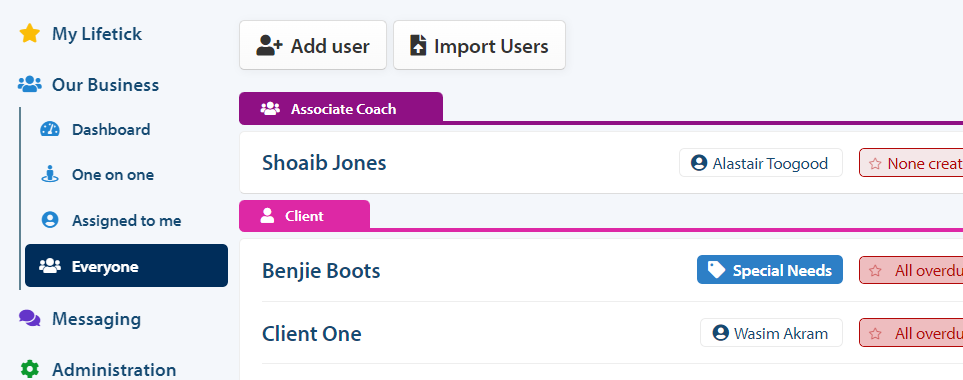
Associate Coaches by default are Coaches and therefore can have their own Clients assigned to them (or they can create and assign users to themselves). They can also be selectively associated as a Coach to other Clients who have a different Coach.
Associate Coach functionality is useful when:
- You have more than one manager per team member (Manager + Associate Managers)
- A student has multiple teachers (Teacher + Associate Teachers)
Super Coaches can add users through ‘All users’ under the super manager section.

System Administrators can add users through ‘Users’ under the System admin section.

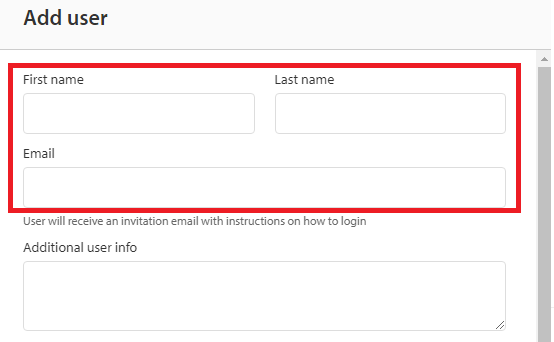
In the Add User window, start by completing the person’s name and email fields.
Select the roles for the user. They can be a client or a coach or both. In this example, the naming convention uses employee for client and manager for coach. Clients are those that receive coaching and set goals. Coaches are those who view others’ goals and support them in achieving them. Organisations with hierarchies may want some of their people to be coaches and clients. They may coach some users and be coached by another user.
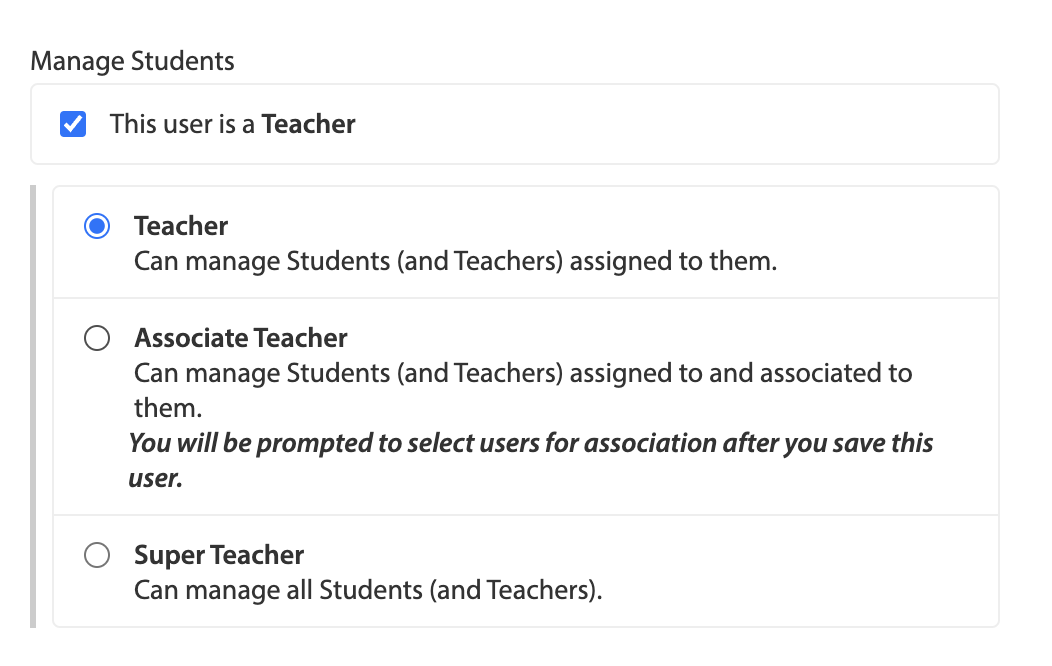
Note: If you are a Super Coach or a System Administrator and would like the Coach to be able to interact with everyone in the organization, you check the ‘This user is a Coach’ check box and then select the radio button for ‘Super Coach.’
The following example shows the settings for a school that have “Teachers” instead of “Coaches”:
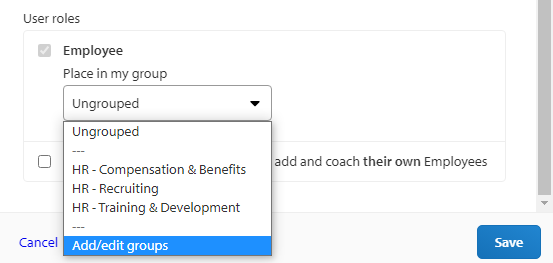
Each Coach can create their own groups for the clients assigned to them. This can be used by the coach to filter their users and provide another option for messaging clients. Note: Coaches can message individuals, all their clients or the groups they create.
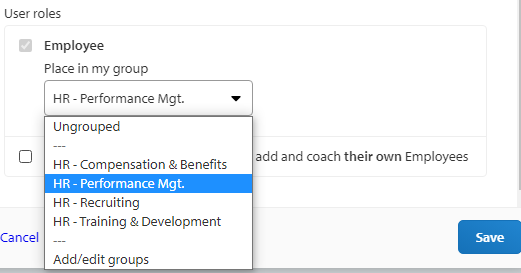
If no groups have been set up, it can be done from this screen. Click on ‘Add/edit groups’ from the ‘Add user to the following group’ drop down menu.
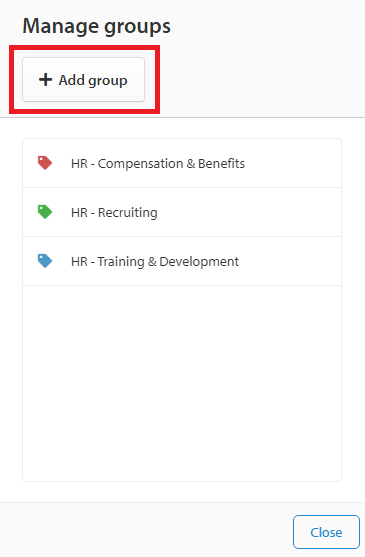
In the Manage groups window, click ‘Add Group.’
Enter the name of the group, select a color and click ‘Save’. Repeat the process for additional groups.

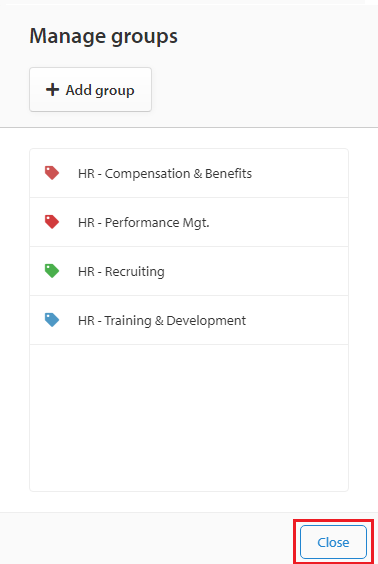
When finished creating groups click the ‘Close’ button.
Confirm your group selection.
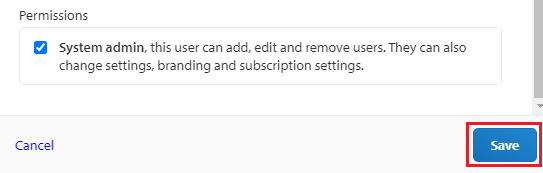
The final selection is for System Admin. Check this box if you want to allow this user to have complete access to your Lifetick account. This includes adding, assigning and removing users, changing the settings, branding and subscription. Click ‘Save’ when done.
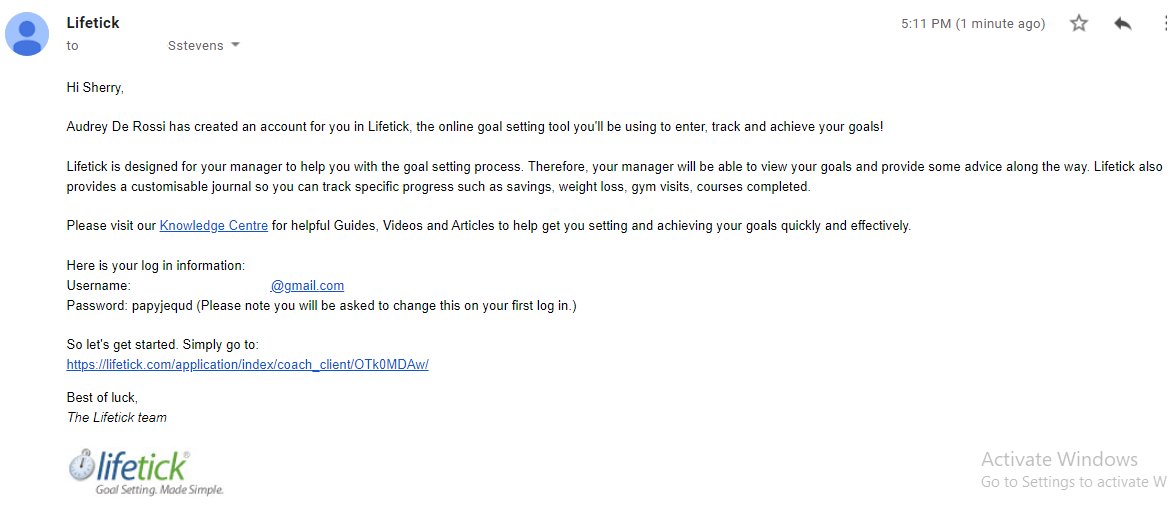
Note: The new user will receive an automated email with their account information and login instructions.
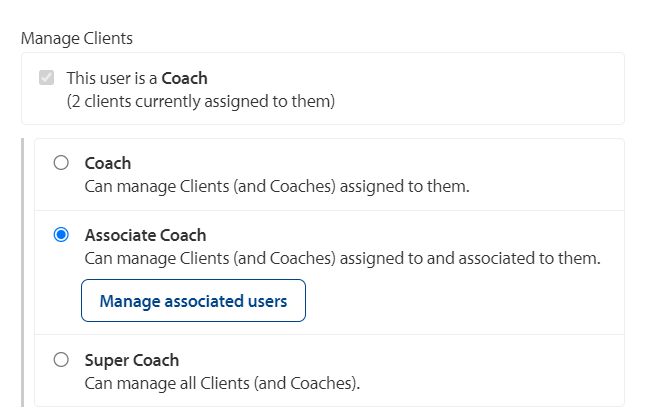
When it comes to creating users as Associate Coaches, simply select the relevant Radio button and Save the record.
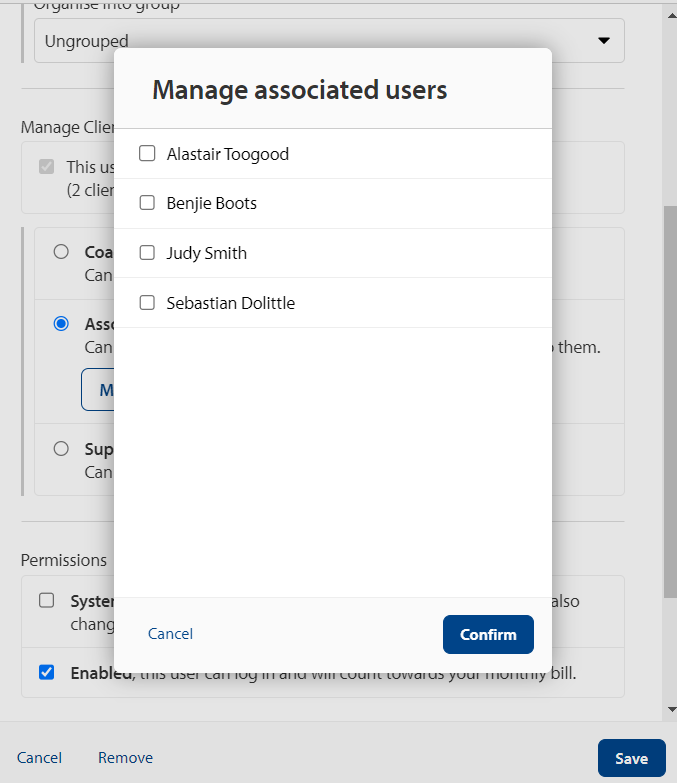
Note: When creating an Associate Coach, you must Save and then reopen the Associate Coach to then associate users to them.
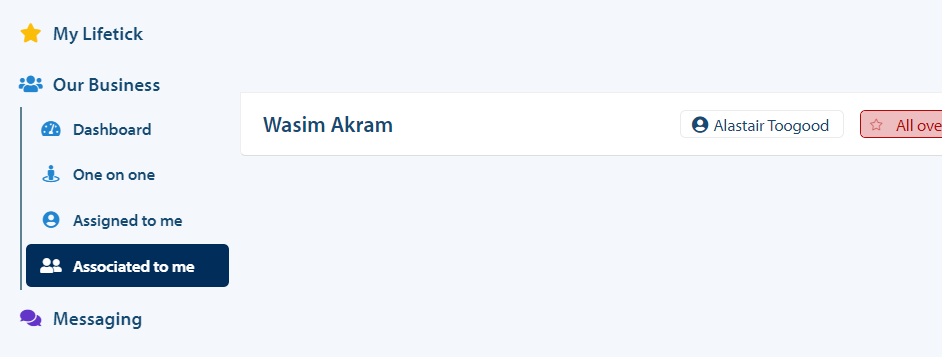
Once users are associated to a Coach, the Associate Coach will see a new menu item for viewing those Clients and their Goals called ‘Associated to me’.
To summarise,
- Coaches see their Assignees in ‘Assigned to me’
- Associate Coaches see Assignees of other Coaches that they are associated to in “Associated to me”
- Super Coaches see all users in ‘Everyone’
For advice and guidance on setting up your organization, Contact us so we can make the whole process simple and easy for you.